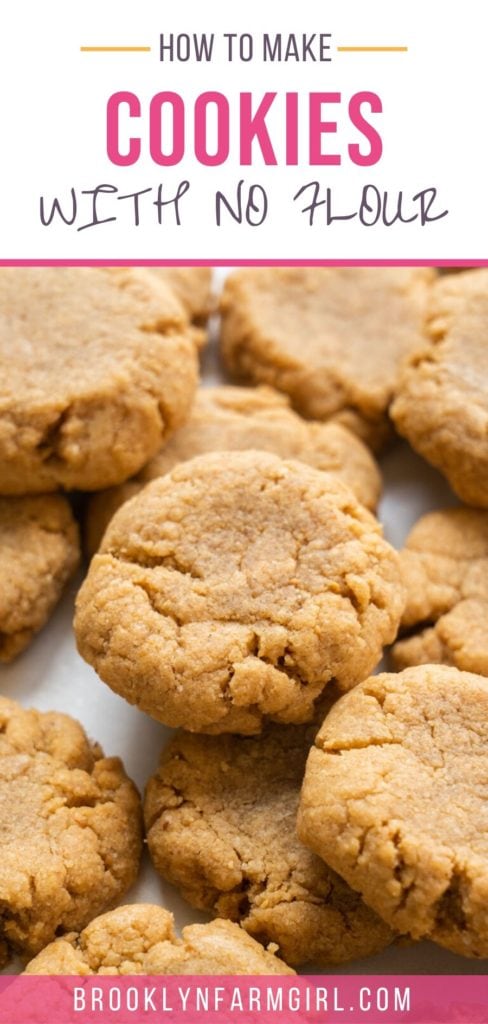
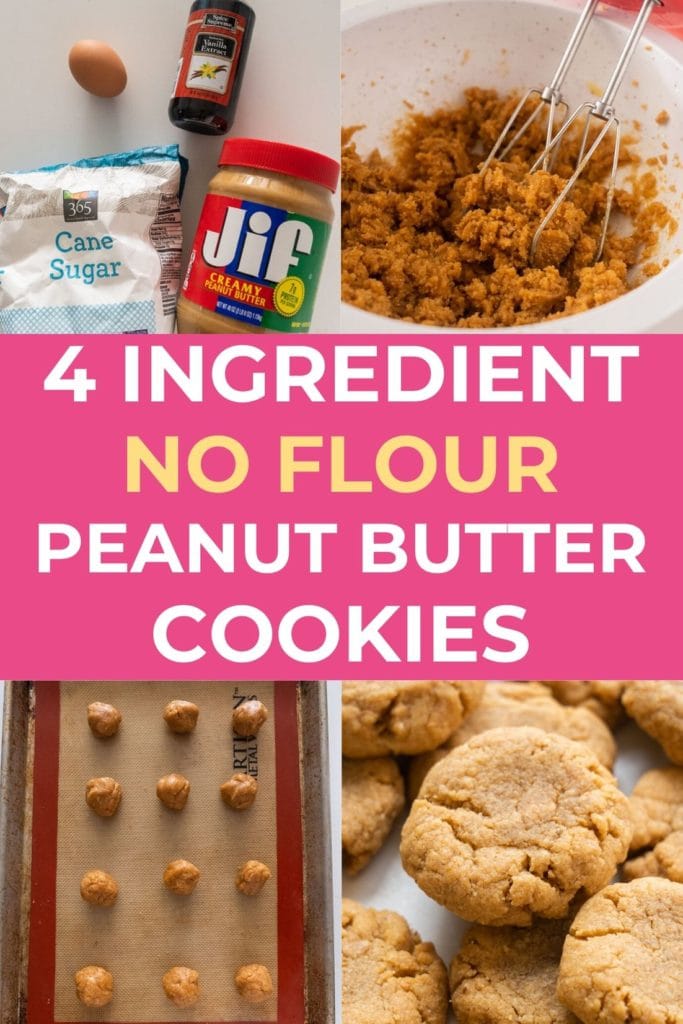
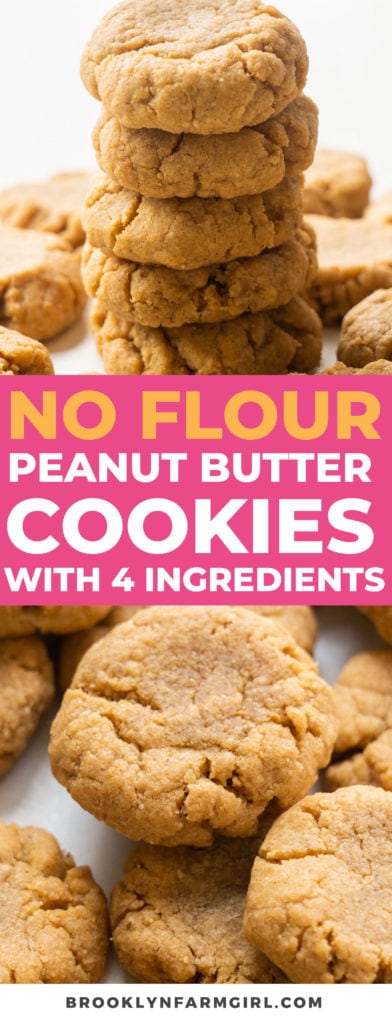
Make soft and chewy flourless peanut butter cookies with just 4 simple ingredients. This easy peanut butter cookie recipe comes together in minutes and is a family favorite!
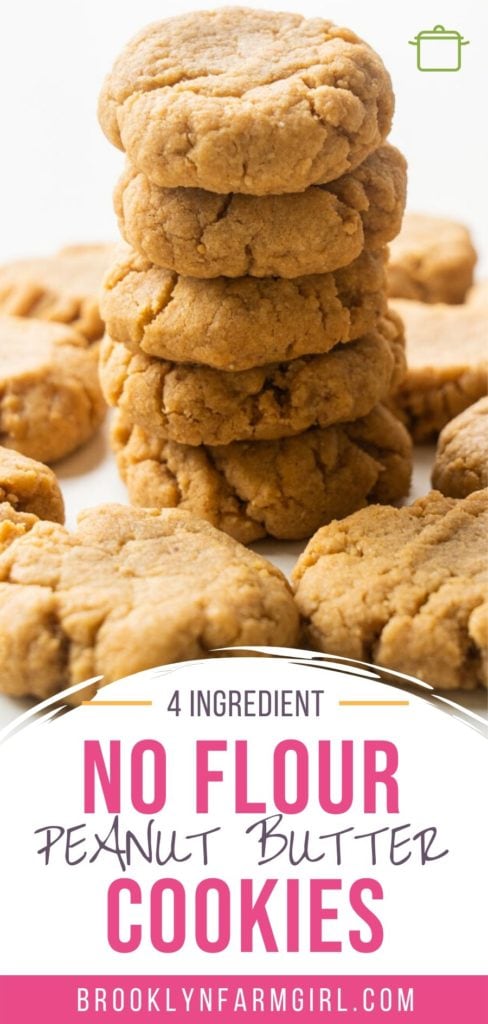
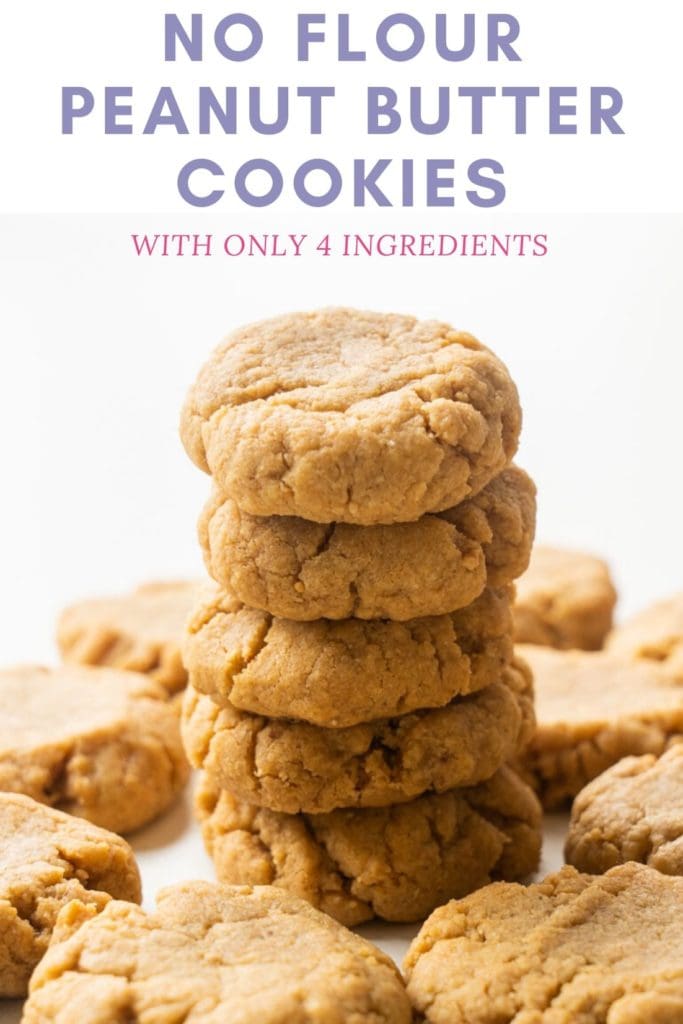
The Easiest 4-Ingredient Peanut Butter Cookies
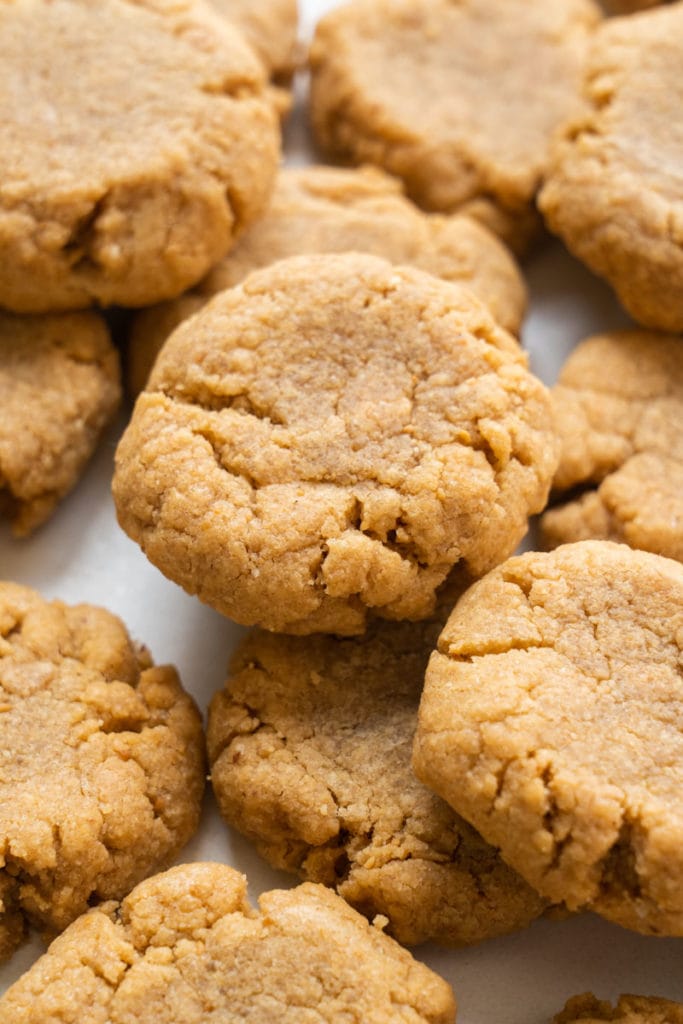
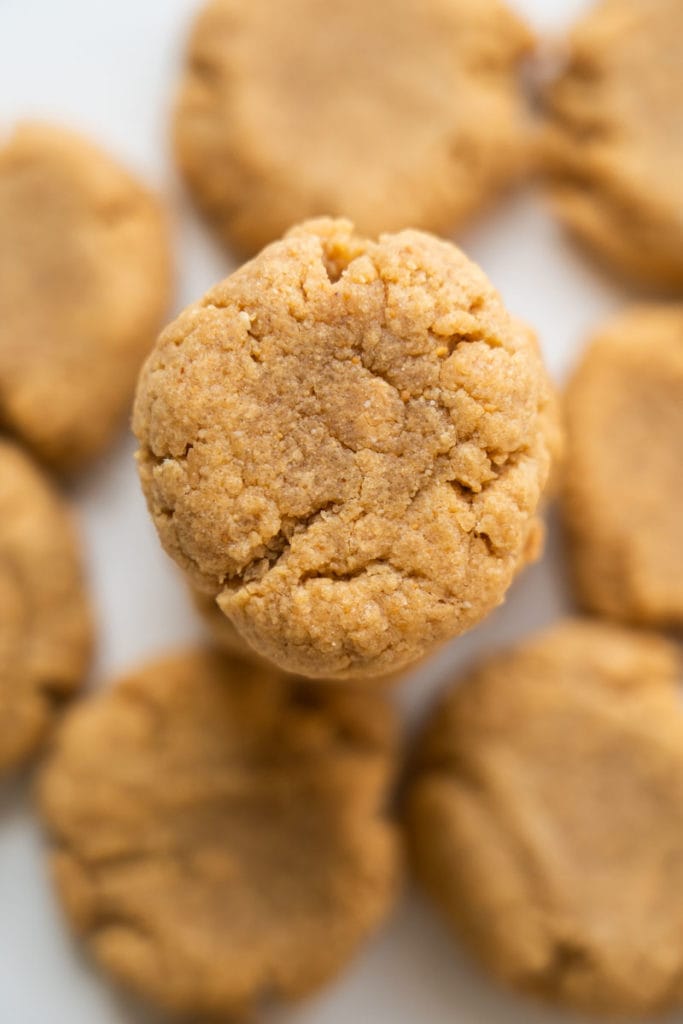
If you’re craving something sweet and don’t want a complicated baking project, these 4-ingredient peanut butter cookies are about to become your new best friend. They’re soft, chewy, packed with classic peanut butter flavor, and—best of all—made with no flour at all. Just stir, scoop, and bake!
These flourless peanut butter cookies have been a longtime favorite in my house because they come together in minutes using ingredients we always have in the pantry. Whether you need a quick after-school treat, a last-minute dessert, or something to satisfy a peanut butter craving, this easy cookie recipe delivers every time. One bowl, one baking sheet… and you’re eating warm cookies before you know it.
Why You’ll Love This Recipe
- Only 4 ingredients. Pantry staples come together to make the easiest peanut butter cookies ever.
- No flour needed. These soft, chewy flourless cookies are perfect when you want a quick treat.
- Ready in minutes. Mix, scoop, bake—your cookies are done before you know it.
- Packed with peanut butter flavor. Rich, classic peanut butter taste in every bite.
- Family favorite. These cookies always disappear fast at our house!
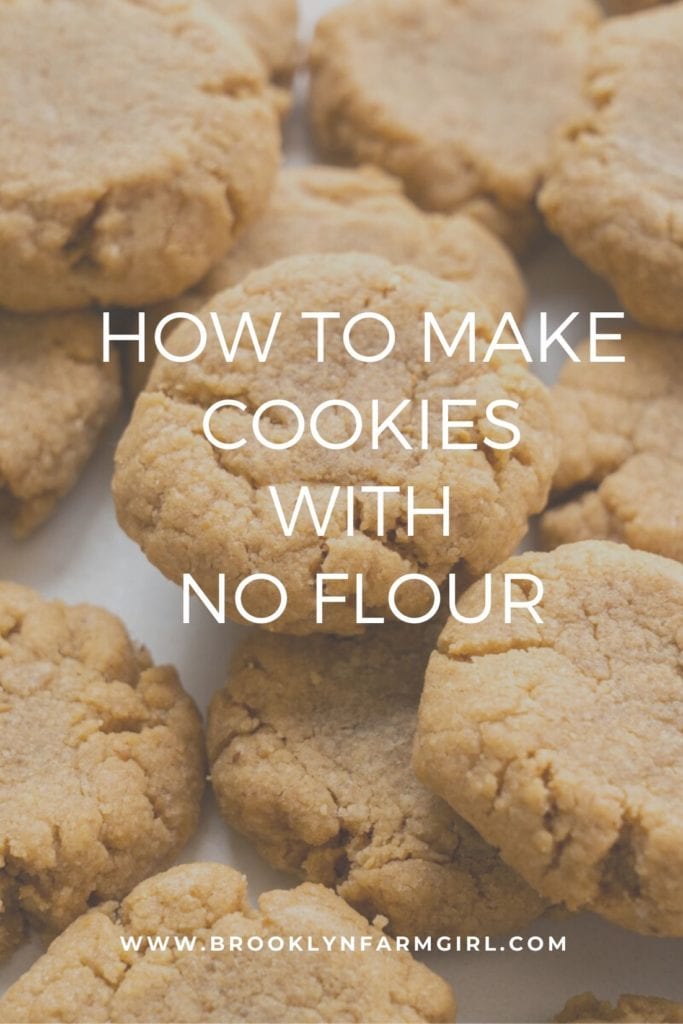
How to Make Cookies With No Flour
Add all your ingredients into a large bowl.
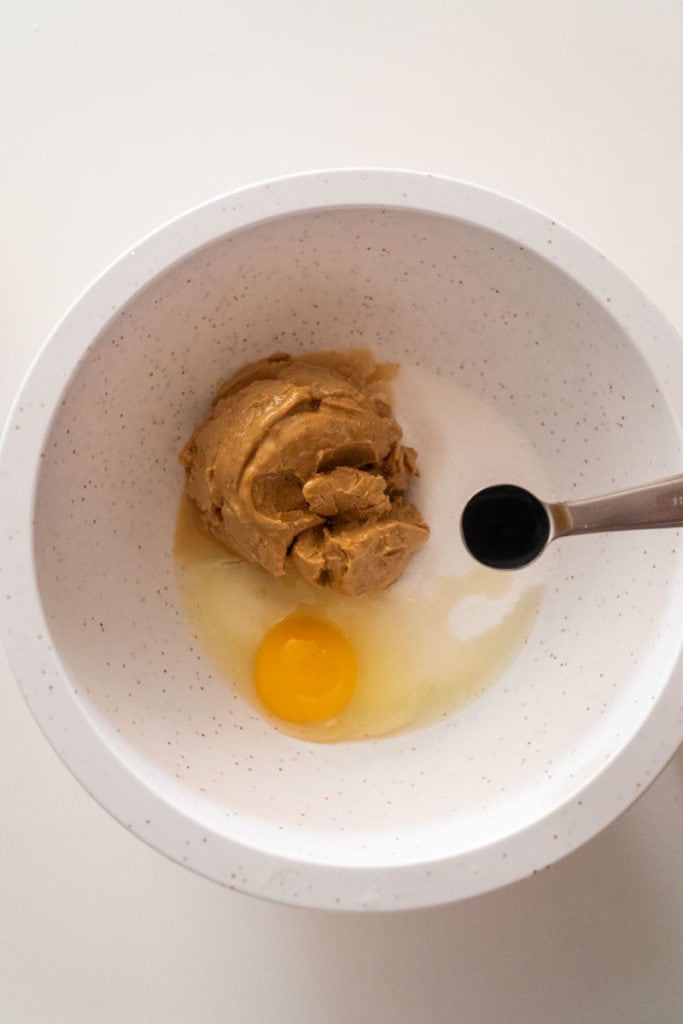
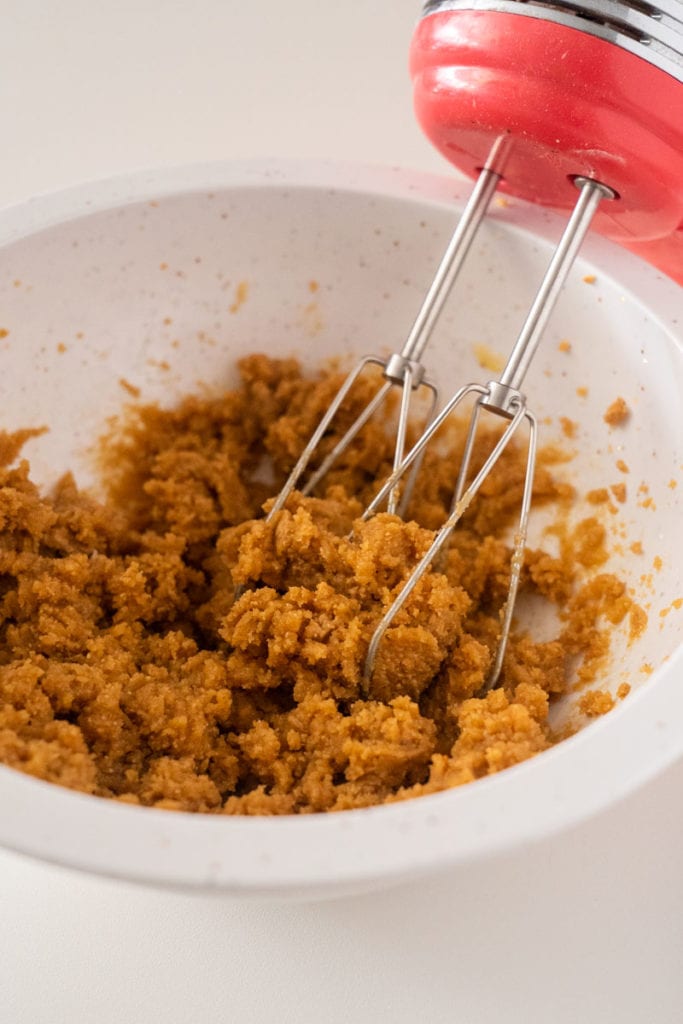
Using a hand mixer , beat until the egg is fully mixed in and it forms into a cookie dough.
Roll the dough into tablespoon sized balls and place on a cookie sheet. Make sure to spray your cookie sheet with nonstick spray, or I love using silicone baking mats .
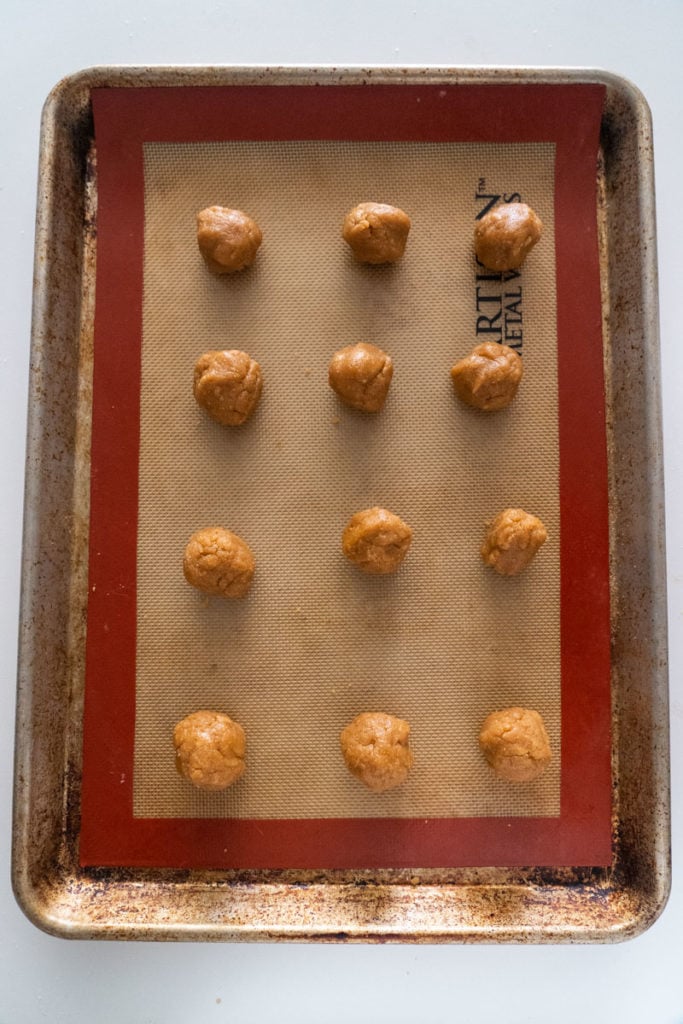
Now use the back of a spoon and smooshie mooshie the cookies down gently. That’s a very technical term you know, smooshie mooshie.

Bake for 14 minutes.
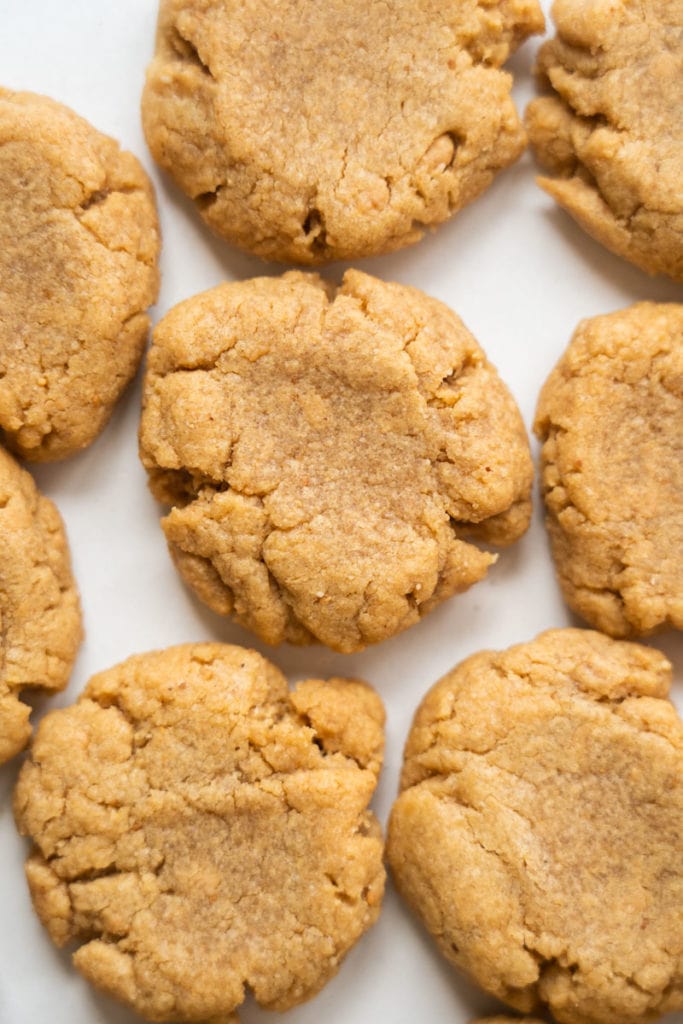
Something important. When 14 minutes is up, you’re going to think the cookies aren’t done because they’re soft. Trust me, they’re done. Remove from oven and allow to sit for 20-30 minutes, and during this time they will firm up perfectly. They won’t be crumbly at all after sitting!
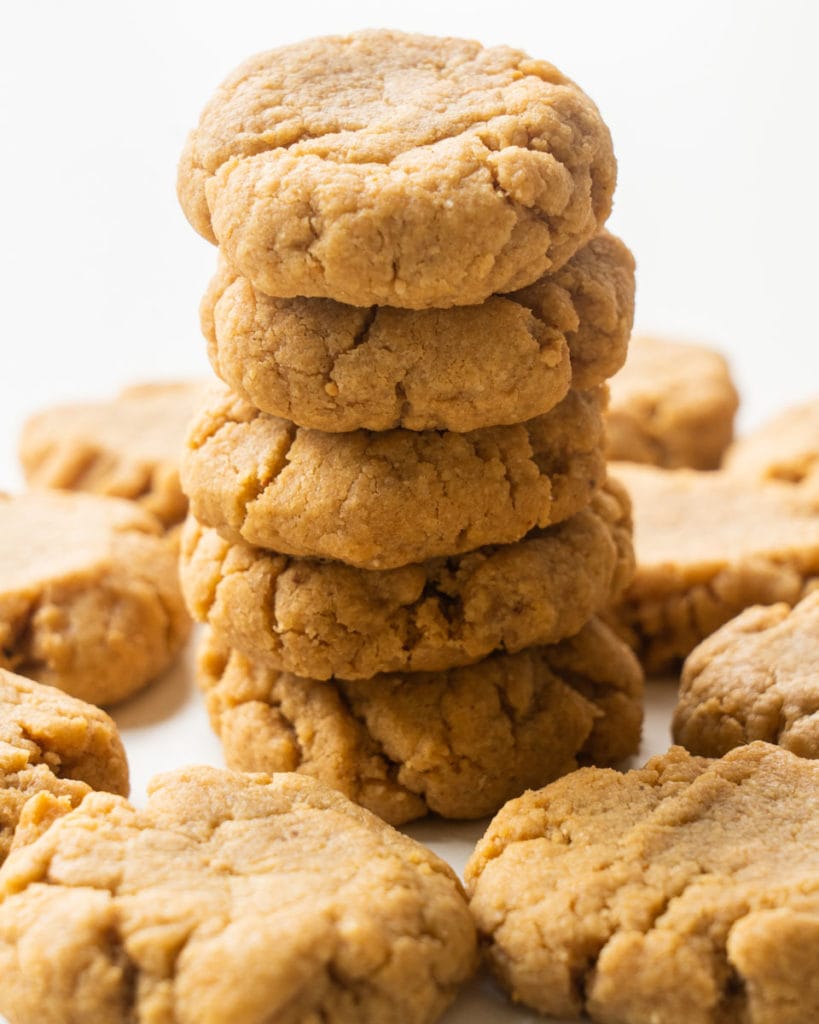
And just like that you delicious peanut butter cookies waiting for you to eat! Don’t you love how easy these were to bake? I hope you enjoy these No Flour Peanut Butter Cookies as much as my family does!
Can I add chocolate chips?
Ok, so maybe you want to add something else in? I know, you can’t control the urges to make this a 5 ingredient recipe. I personally love these just as peanut butter cookies, but they can 100% be made with some add ins too.
You can try adding in 1/2 cup chocolate chips, 1/2 cup sprinkles, 1/2 cup crushed nuts or 1/2 cup raisins. (Note: just select one, don’t add them all!) Add these in after you use the hand mixer, and stir them around with a wooden spoon.
Pin for later:
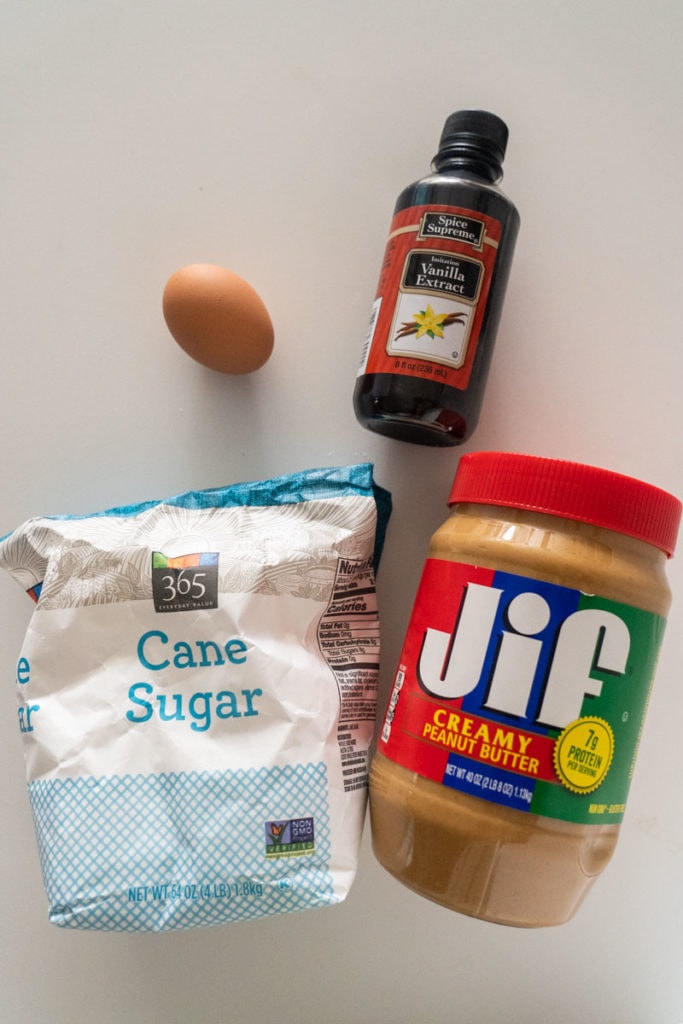
Ingredients
- ▢ 1 cup creamy peanut butter
- ▢ 1 cup sugar
- ▢ 1 egg
- ▢ 1 teaspoon vanilla
Instructions
- Preheat oven to 325 degrees.
- Add all the ingredients into a large bowl. Using a electric hand mixer, beat until egg is fully mixed in and you have a cookie dough.
- Roll dough into tablespoon size balls and place on cookie sheet that has been sprayed with nonstick spray, or use silicone baking mats. Repeat until the dough is gone. This should make approximately 20 cookies. Use the back of a spoon and gently press down on each cookie, slightly flattening them out.
- Bake for 14 minutes. Once the cookies come out of the oven, they will feel soft, don’t worry, that’s what’s supposed to happen. Let them sit for 20-30 minutes, allowing them to harden up. Eat and enjoy!
4-Ingredient Peanut Butter Cookies (No Flour Needed!)
Ingredients
- 1 cup creamy peanut butter
- 1 cup sugar
- 1 egg
- 1 teaspoon vanilla
Instructions
- Preheat oven to 325 degrees.
- Add all the ingredients into a large bowl. Using a electric hand mixer, beat until egg is fully mixed in and you have a cookie dough.
- Roll dough into tablespoon size balls and place on cookie sheet that has been sprayed with nonstick spray, or use silicone baking mats. Repeat until the dough is gone. This should make approximately 20 cookies. Use the back of a spoon and gently press down on each cookie, slightly flattening them out.
- Bake for 14 minutes. Once the cookies come out of the oven, they will feel soft, don’t worry, that’s what’s supposed to happen. Let them sit for 20-30 minutes, allowing them to harden up. Eat and enjoy!
Recipe Created by Pamela Reed for brooklynfarmgirl.com
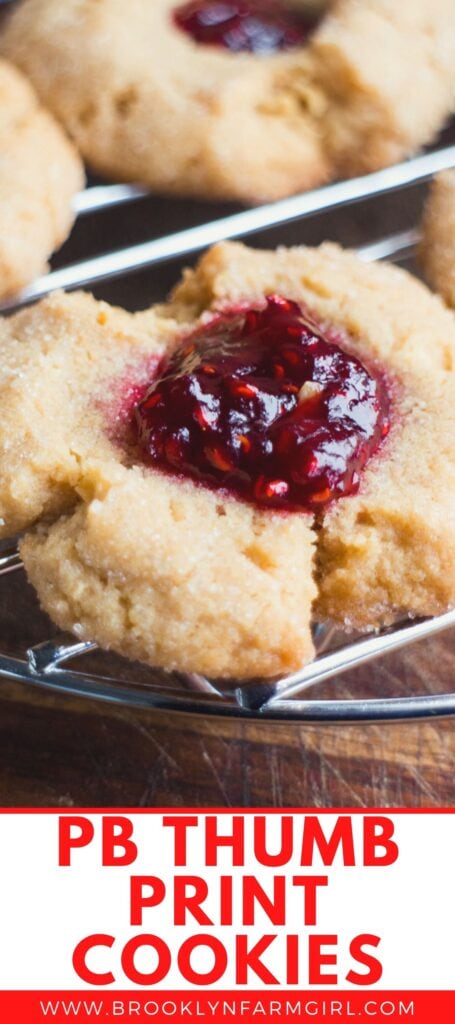
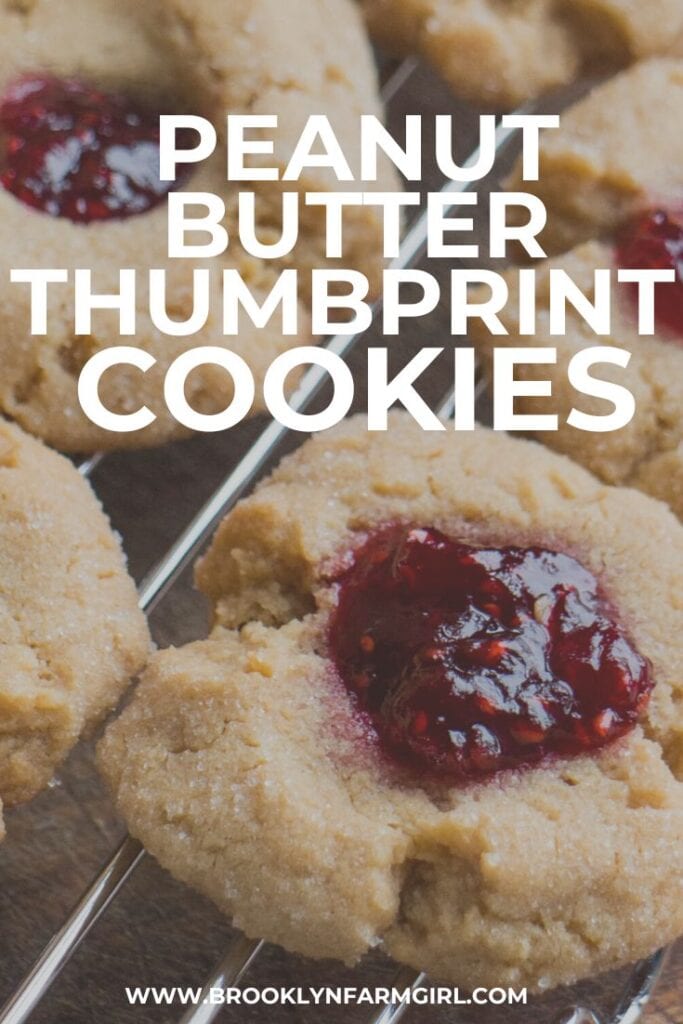
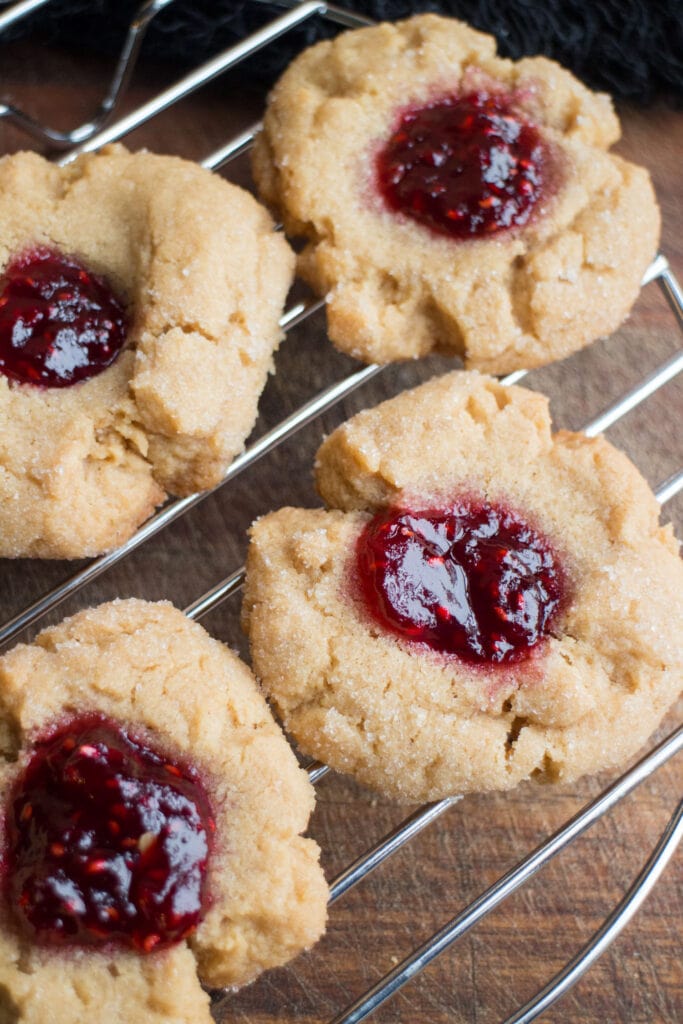
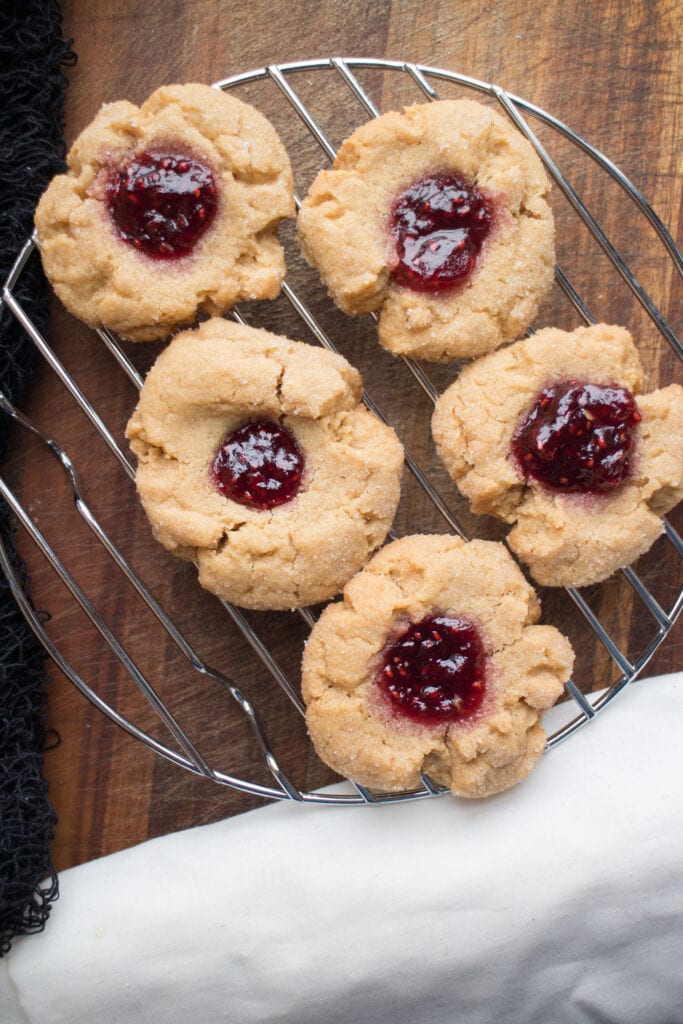
Once you bite into these crumbly peanut butter thumbprint cookies with a raspberry jam center, you will never stop with just one! They are the perfect mix of salty, nutty, and sweet and are just melt-in-your-mouth delicious!
The Perfect Holiday Cookies
Is it even Christmas without endless amounts of cookies in your kitchen? There’s Peanut Butter Blossoms Cookies , Cream Cheese Sugar Cookies , M&M Cookies , Christmas Donut Cookies , Snowball Cookies and so many more cookies !
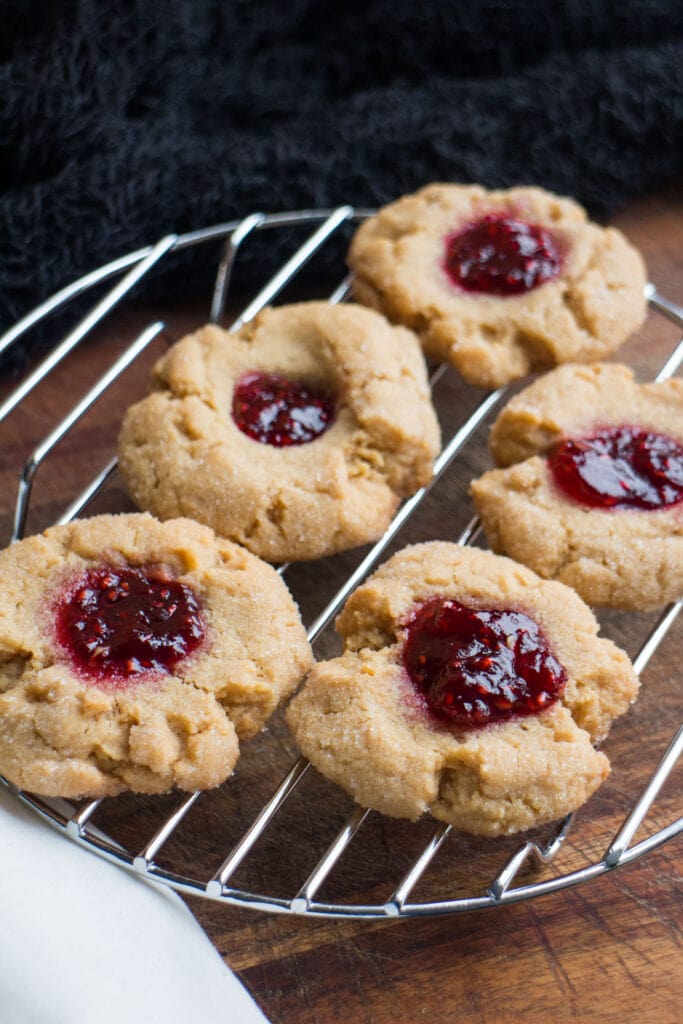
When it’s Christmas time, Peanut Butter Thumbprint Cookies are always on our menu! Don’t get me wrong, you can have it any time of the year you want, but these festive cookies are just perfect for the holidays.
Place them in a decorative box, tie it with some pretty ribbons and add a handwritten card, and you have a lovely, thoughtful gift to give to your family and friends. Oh yeah, and be sure to save some for yourself too! 🙂
Ingredients You’ll Need
It does not require much to make them! All you need are a few baking essentials, and you can make a whole batch in just 20 minutes!
- Creamy peanut butter- did I already say how I love PB? I like using the creamy variety for a smoother dough.
- Butter – adds a rich flavor and makes the cookies melt in your mouth!
- Sugars- I used both granulated white sugar and brown sugar for this recipe. Adding brown sugar gives the cookies a rich caramel-like sweetness that I really like!
- Egg- binds all the ingredients together.
- Vanilla- adds another layer of flavor to the cookies. Its delicate aroma and taste work perfectly with the peanut butter flavor.
- Flour- I used all-purpose for this recipe to achieve that soft and crumbly cookie texture.
- Baking powder + baking soda- are used as leavening agents to give cookies a nice rise.
- Salt- a pinch will further enhance the peanut butter flavor!
- Raspberry jam- I love its sweet and tart flavor! It is perfect for making classic thumbprint cookies. However, feel free to use other jams like Apricot , Strawberry , and Blueberry or for a citrusy taste try my lemon curd .
How to Make Peanut Butter Thumbprint Cookies
You will only need 5 minutes to get these babies ready for the oven! The aroma of baking cookies will fill your kitchen and will have everyone in your house champing on the bit to get a hold of some! They are so easy to make that you can have your kids join in the fun! Wouldn’t they just love making those thumbprint indents on the dough?
Preparations:
- Preheat the oven to 350 degrees F.
- Prepare 2 cookie sheets by spraying with nonstick spray or putting down silicone baking mats .
Steps
Make the cookie dough . Place the melted butter, peanut butter, sugar, brown sugar, egg, and vanilla in a large mixing bowl and blend them together using a hand mixer until the mixture is creamy and fluffy. Add the flour, baking powder, baking soda, and salt and continue mixing until a sticky dough forms.
Shape them up! Scoop a portion of the dough and make 1-inch dough balls. In a shallow bowl, add sugar and roll the dough balls until evenly covered. Place them on the prepared cookie sheets.
Bake! Place the baking sheets into the oven and set the timer for 14 to 15 minutes.
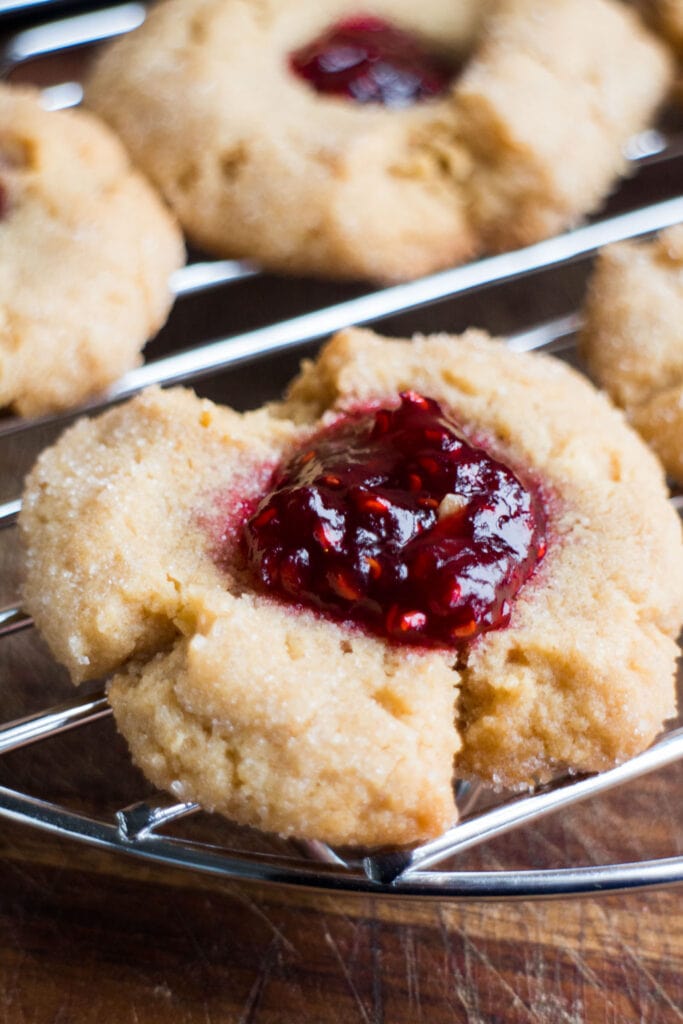
Add the jam filling. Now the fun part! Make a small indent in the middle of the cookies using your thumb or a small spoon. Then fill it up with raspberry jam! Let them cool and harden before serving!
Tips when Making Thumbprint Cookies
- Do not over-mix your dough. Just mix until all the ingredients come together and become light and fluffy. An over-mixed dough will result in dry and tough cookies- exactly what we do not want!
- Coat your hands with water or oil when rolling the sticky dough. This will make it easier to shape them.
- Place the dough balls 2 inches apart on the baking sheet. They will spread as they bake.
- When you press the cookies to make an indention in the middle, some edges may crack slightly, which is fine. If you want to prevent this from happening, make the indentions right after you pull them out of the oven, when they are still very pliable. I urge you to use a spoon, though; they are pipin’ hot!
Make-ahead Cookies
You can make the dough ahead of time and freeze it to use for later. Cover it in plastic wrap and pop it in the freezer. Homemade cookie doughs can stay frozen for up to 3 months. Let it stand at room temperature for 4-6 hours before rolling them into balls.
Storing Thumbprint Cookies
To store, allow them to completely cool first. Then place them in airtight cookie jars or containers. They should be at their optimal state for up to a week if they last that long!
Possible Variations
I use the peanut butter cookie base to make different types of cookies! You can also try making Peanut Butter Blossom Cookies by swapping the jam with Hersey’s Kisses, sprinkles or making chocolate peanut butter blossoms . For Valentine’s day, try making my Chocolate Covered Cherry Peanut Butter Blossom Cookies- they are divine!
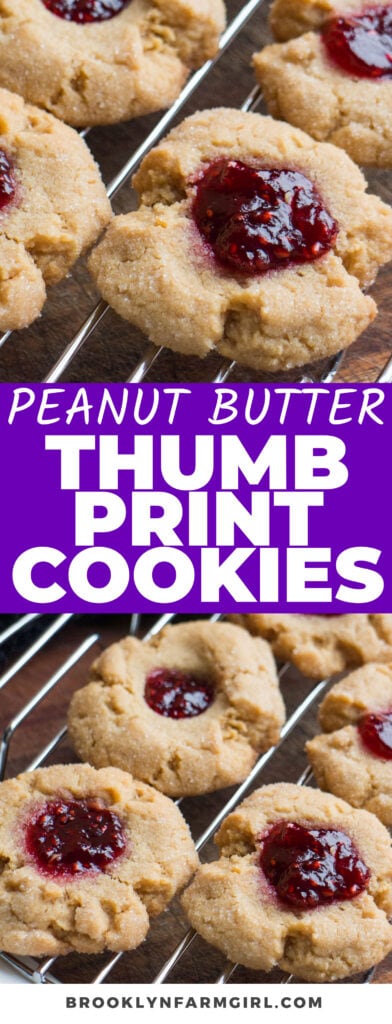
Pin for later:
Ingredients
- ▢ 1/2 cup butter softened
- ▢ 1/2 cup creamy peanut butter
- ▢ 1/2 cup sugar
- ▢ 1/2 cup brown sugar
- ▢ 1 egg
- ▢ 1/2 teaspoon vanilla
- ▢ 1 1/4 cups flour
- ▢ 1/2 teaspoon baking powder
- ▢ 1/2 teaspoon baking soda
- ▢ 1/2 teaspoon salt
To roll cookies/for top:
- ▢ 1/2 cup sugar
- ▢ 1/2 cup raspberry jam or other flavor of your choice
Instructions
- Preheat oven to 350 degrees F. Prepare 2 cookie sheets by spraying with nonstick spray or putting down silicone baking mats.
- In a large bowl cream together butter, peanut butter, sugar, brown sugar, egg and vanilla with a hand mixer until fluffy.
- Mix in flour, baking powder, baking soda and salt until a cookie dough forms.
- Place 1/2 cup of sugar in a small shallow bowl. Shape cookies into 1 inch balls, roll in sugar and place on prepared cookie sheets.
- Bake for 14 to 15 minutes until slightly browned.
- Once out of the oven, press thumb or small spoon into the center of each cookie to create a small well where the jam will go. Fill with a teaspoon of jam.
- Allow to cool for a few minutes to harden, and then serve (and eat them all!). Enjoy!
