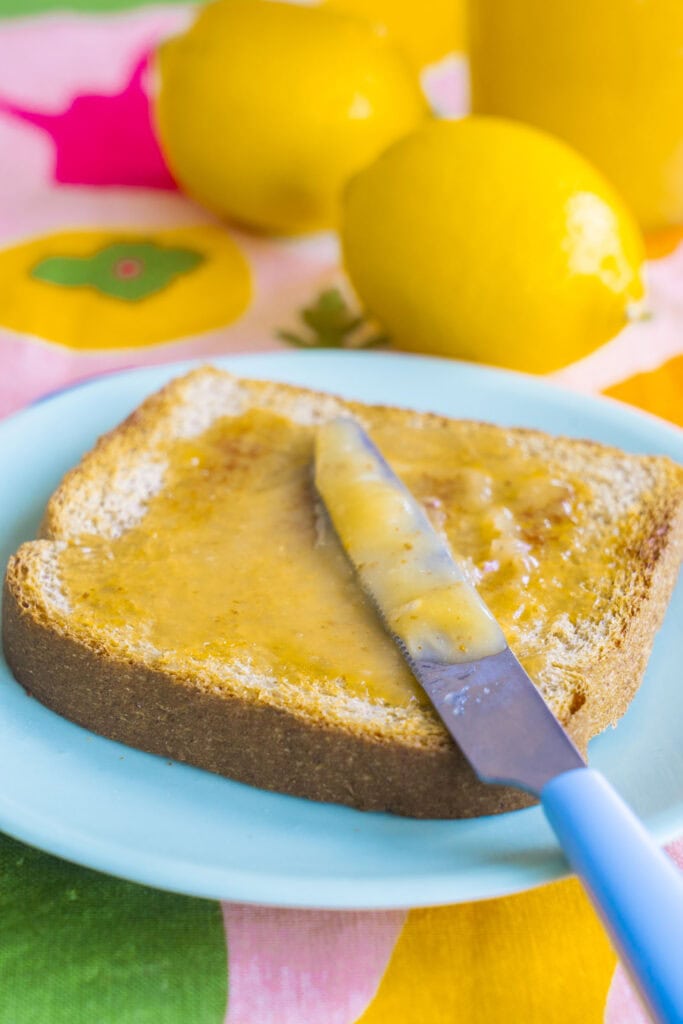
This makes the best tasting fresh lemon curd ever. The texture is wonderfully smooth with fresh lemon flavor—delicious on scones, layered in cakes, or eaten by the spoonful. Makes about 2 cups of fresh lemon curd that you can keep in the refrigerator or can (instructions provided).
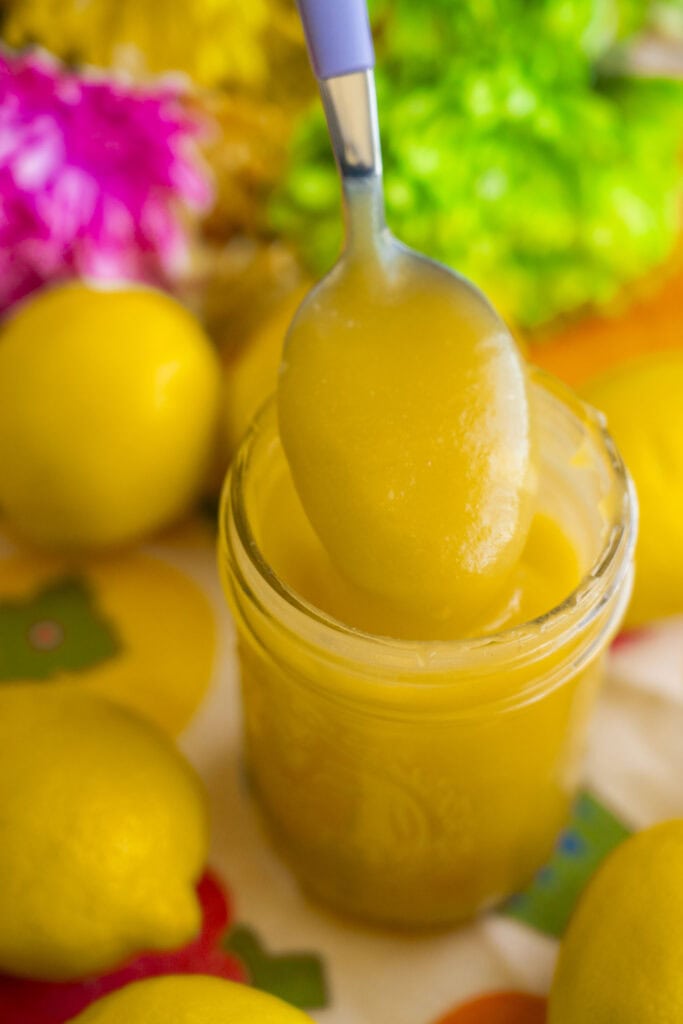
Homemade Fresh Lemon Curd
I came up with this fresh lemon curd recipe after making a batch of my easy scones and wishing I had something citrusy and delicious to spread on top. With a few fresh lemons on hand, I started experimenting until I landed on this version—silky smooth, perfectly sweet-tart, and bursting with real lemon flavor.
It’s now a go-to in our kitchen, especially when we want something a little extra with breakfast or dessert. I recently made my peanut butter thumbprint cookies and instead of using my regular raspberry jam, I filled them with lemon curd – and wow, they were amazing! And seriously, can we talk about how good lemon curd is on top of vanilla ice cream?! Dream come true!
If you’re more of a lime girl (or boy) then try my lime curd next! Enjoy!
How to Make Lemon Curd
Cream and Mix: In a mixing bowl, cream the butter and sugar until light and fluffy. Add the eggs one at a time, beating well after each addition. Mix in the fresh lemon juice and zest until fully combined.
Note: Many recipes direct you to crack the eggs directly into the saucepan but this can sometimes result in egg curdles in your curd – yuck! I’ve tested this method many times, and it works beautifully: mixing the eggs with the butter and sugar first—just like when baking a cake—ensures they blend smoothly and don’t scramble when you heat the curd on the stove.
Cook on Stovetop: Pour the mixture into a saucepan and cook over medium heat, stirring constantly with a spatula or whisk.
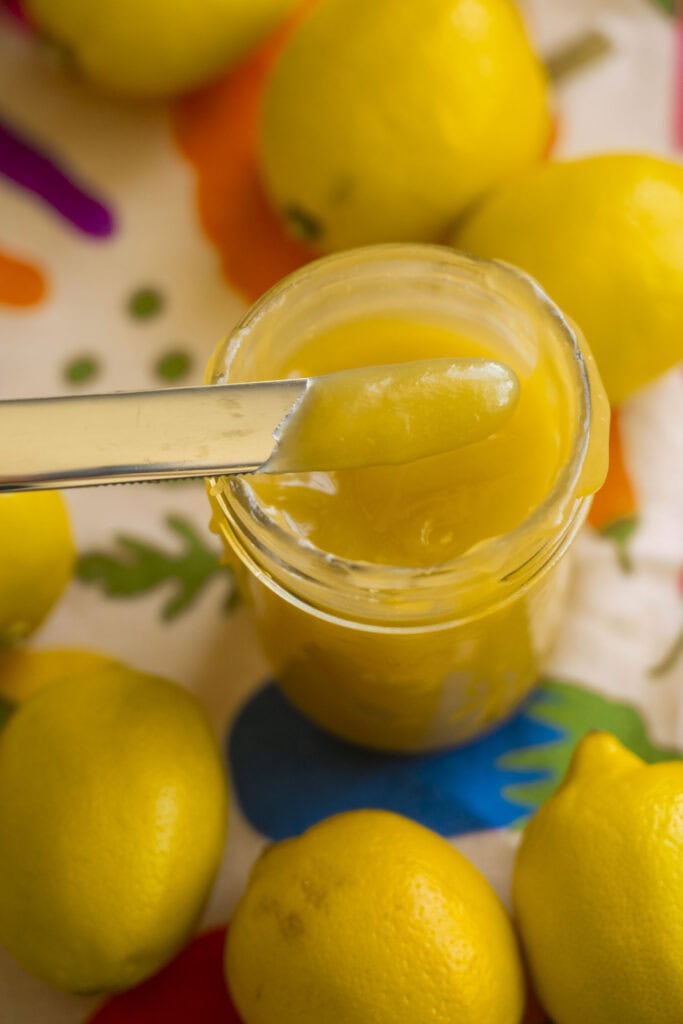
Thicken and Cool: Continue stirring until the curd thickens. Remove from heat and transfer to a bowl. Press plastic wrap directly onto the surface to prevent a skin from forming. Let cool completely—the curd will thicken as it cools.
Store: Once cooled, transfer to a mason jar or airtight container. Store in the refrigerator for up to 1 month.
Storing and Freezing Lemon Curd
Store your lemon curd in an airtight container in the refrigerator—it will stay fresh for up to 1 month. If you’d like to keep it longer, transfer the curd to freezer-safe containers, leaving about 1/2 inch of space at the top to allow for expansion, and freeze. When you’re ready to use it, thaw the curd in the fridge for 24 hours. I’ve tested frozen curd alongside a fresh batch, and there’s not much noticeable difference in texture or flavor. If freezing, it’s best to use within 6 months.
How to Can Lemon Curd
To can lemon curd, first wash and rinse pint canning jars, keeping them hot until ready to fill. Preheat water in the canner to 180°F and prepare the canning lids.
Fill the jars with hot, strained curd, leaving 1/2 inch of headspace. Eliminate any air bubbles and adjust the headspace if necessary. Wipe the jar rims with a clean, damp paper towel, then apply the two-piece metal canning lids.
Process in the boiling water canner. For altitudes below 1,000 feet, process for 15 minutes. At altitudes between 1,000 and 6,000 feet, the process time is 20 minutes. Above 6,000 feet, process for 25 minutes. Let jars cool for 12-24 hours, then check for seals.
For optimal quality, store scanned lemon curd in a cool, dark place, away from light. Use the lemon curd within 3 to 4 months. Discard if you notice any browning or separation, as these are signs of spoilage.

Pin for later:

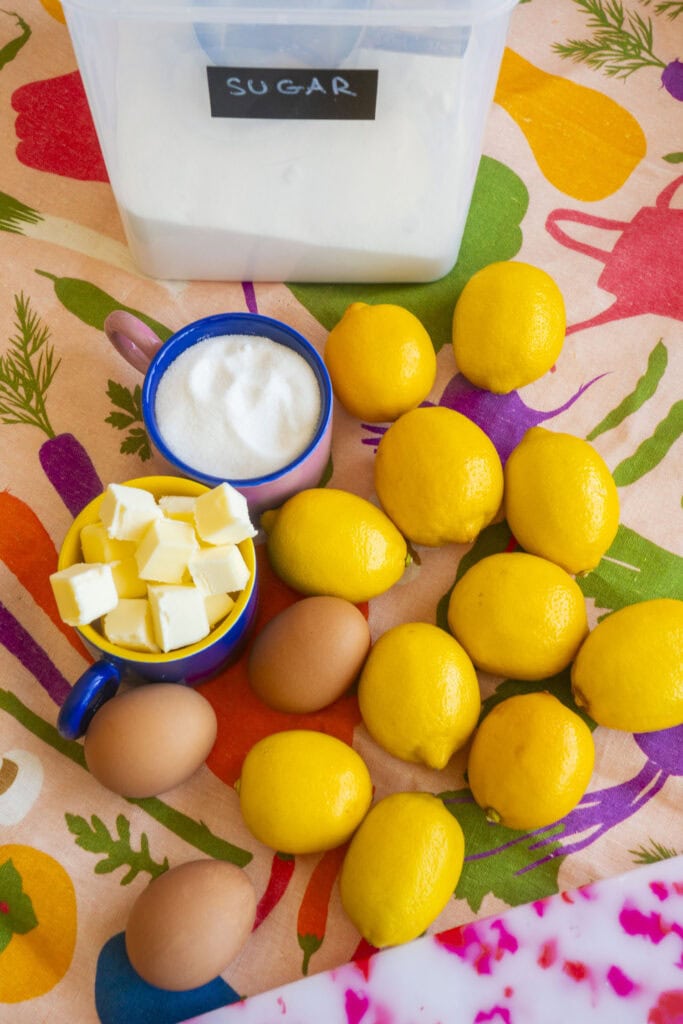
Ingredients
- ▢ 1/2 cup white sugar
- ▢ 1/2 cup butter softened
- ▢ 3 eggs
- ▢ 3/4 cup fresh lemon juice this is about 3-4 large lemons
- ▢ 1 tablespoon grated lemon zest
Instructions
- In a mixing bowl, cream the butter and sugar together until light and fluffy.
- Add the eggs one at a time, beating well after each addition until the mixture becomes very fluffy.
- Mix in the fresh lemon juice and lemon zest until fully combined.
- Pour the mixture into a medium sized saucepan and cook over medium heat, stirring constantly with a spatula or whisk. Continue stirring for about 6 minutes, or until the lemon curd thickens enough to coat the back of a spoon.
- Remove the saucepan from heat and immediately transfer the curd to a large bowl. Press a piece of plastic wrap directly onto the surface of the curd to prevent a skin from forming.
- The lemon curd will thicken more as it cools. If you’re planning to use it all at once, just place the covered bowl directly in the refrigerator. If you’ll be using it a little at a time, transfer it to a clean mason jar or airtight container. Store in the fridge for up to 1 month. Want to preserve it longer? Check out my post with full canning instructions.
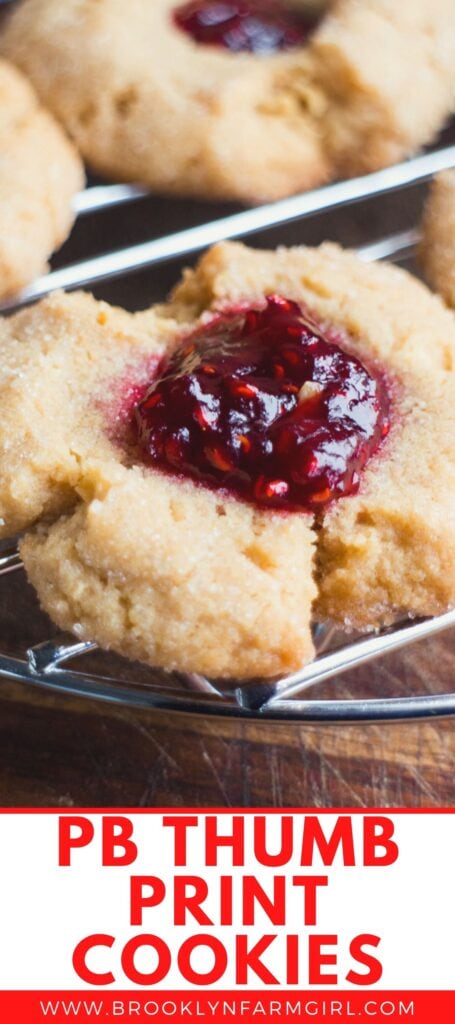
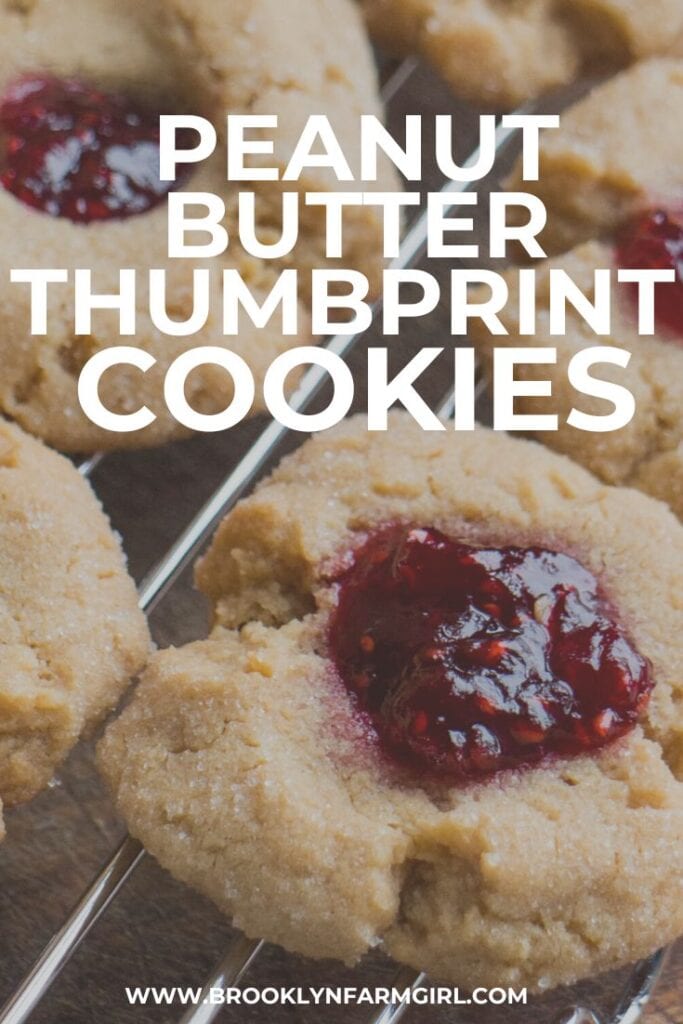
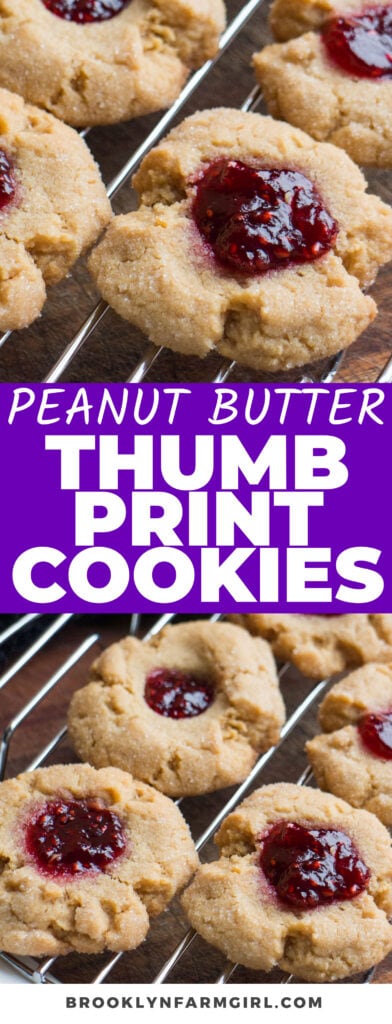
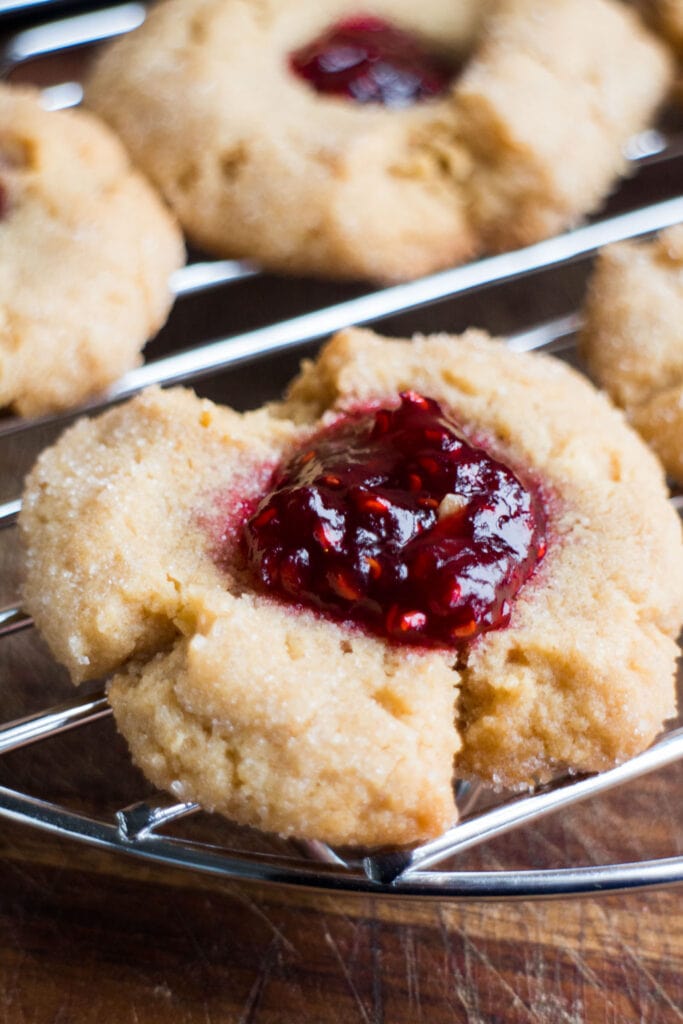
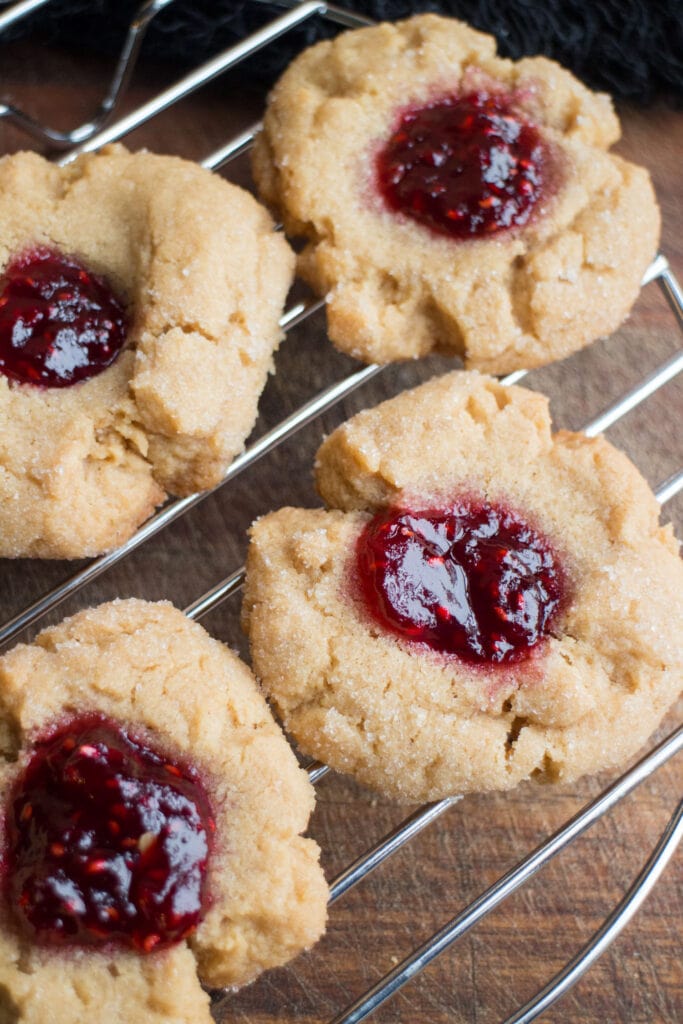
Once you bite into these crumbly peanut butter thumbprint cookies with a raspberry jam center, you will never stop with just one! They are the perfect mix of salty, nutty, and sweet and are just melt-in-your-mouth delicious!
The Perfect Holiday Cookies
Is it even Christmas without endless amounts of cookies in your kitchen? There’s Peanut Butter Blossoms Cookies , Cream Cheese Sugar Cookies , M&M Cookies , Christmas Donut Cookies , Snowball Cookies and so many more cookies !
When it’s Christmas time, Peanut Butter Thumbprint Cookies are always on our menu! Don’t get me wrong, you can have it any time of the year you want, but these festive cookies are just perfect for the holidays.
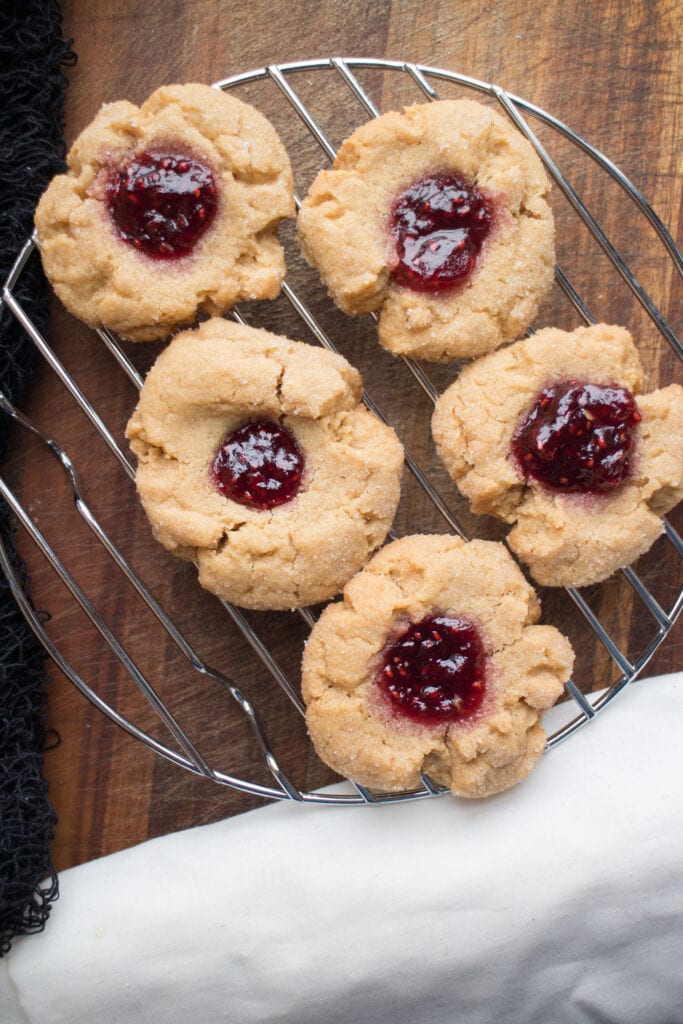
Place them in a decorative box, tie it with some pretty ribbons and add a handwritten card, and you have a lovely, thoughtful gift to give to your family and friends. Oh yeah, and be sure to save some for yourself too! 🙂
Ingredients You’ll Need
It does not require much to make them! All you need are a few baking essentials, and you can make a whole batch in just 20 minutes!
- Creamy peanut butter- did I already say how I love PB? I like using the creamy variety for a smoother dough.
- Butter – adds a rich flavor and makes the cookies melt in your mouth!
- Sugars- I used both granulated white sugar and brown sugar for this recipe. Adding brown sugar gives the cookies a rich caramel-like sweetness that I really like!
- Egg- binds all the ingredients together.
- Vanilla- adds another layer of flavor to the cookies. Its delicate aroma and taste work perfectly with the peanut butter flavor.
- Flour- I used all-purpose for this recipe to achieve that soft and crumbly cookie texture.
- Baking powder + baking soda- are used as leavening agents to give cookies a nice rise.
- Salt- a pinch will further enhance the peanut butter flavor!
- Raspberry jam- I love its sweet and tart flavor! It is perfect for making classic thumbprint cookies. However, feel free to use other jams like Apricot , Strawberry , and Blueberry or for a citrusy taste try my lemon curd .
How to Make Peanut Butter Thumbprint Cookies
You will only need 5 minutes to get these babies ready for the oven! The aroma of baking cookies will fill your kitchen and will have everyone in your house champing on the bit to get a hold of some! They are so easy to make that you can have your kids join in the fun! Wouldn’t they just love making those thumbprint indents on the dough?
Preparations:
- Preheat the oven to 350 degrees F.
- Prepare 2 cookie sheets by spraying with nonstick spray or putting down silicone baking mats .
Steps
Make the cookie dough . Place the melted butter, peanut butter, sugar, brown sugar, egg, and vanilla in a large mixing bowl and blend them together using a hand mixer until the mixture is creamy and fluffy. Add the flour, baking powder, baking soda, and salt and continue mixing until a sticky dough forms.
Shape them up! Scoop a portion of the dough and make 1-inch dough balls. In a shallow bowl, add sugar and roll the dough balls until evenly covered. Place them on the prepared cookie sheets.
Bake! Place the baking sheets into the oven and set the timer for 14 to 15 minutes.
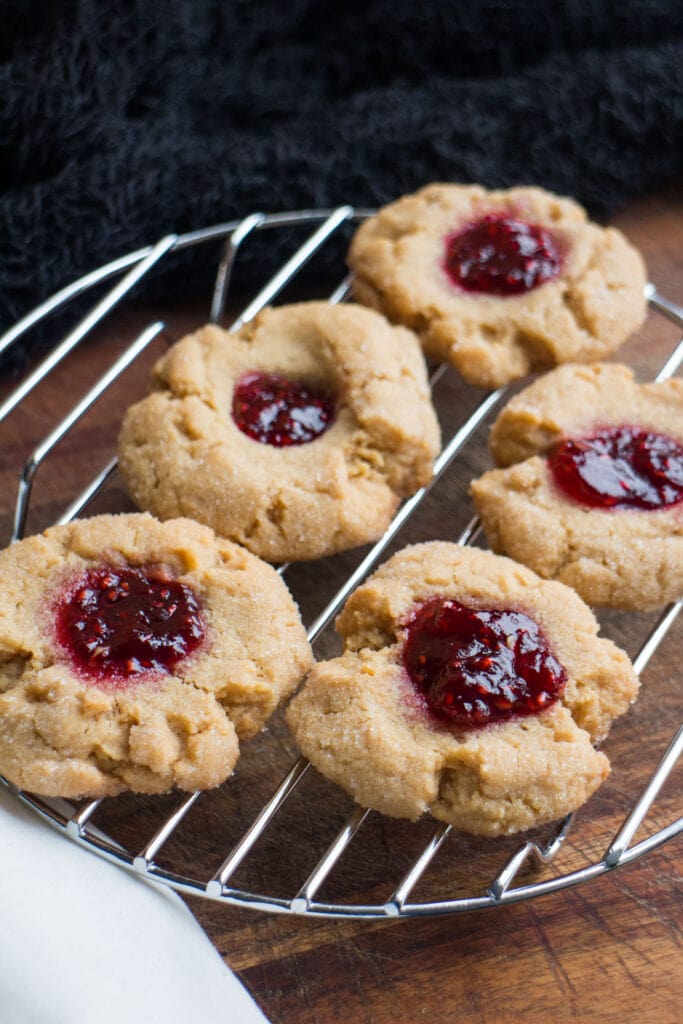
Add the jam filling. Now the fun part! Make a small indent in the middle of the cookies using your thumb or a small spoon. Then fill it up with raspberry jam! Let them cool and harden before serving!
Tips when Making Thumbprint Cookies
- Do not over-mix your dough. Just mix until all the ingredients come together and become light and fluffy. An over-mixed dough will result in dry and tough cookies- exactly what we do not want!
- Coat your hands with water or oil when rolling the sticky dough. This will make it easier to shape them.
- Place the dough balls 2 inches apart on the baking sheet. They will spread as they bake.
- When you press the cookies to make an indention in the middle, some edges may crack slightly, which is fine. If you want to prevent this from happening, make the indentions right after you pull them out of the oven, when they are still very pliable. I urge you to use a spoon, though; they are pipin’ hot!
Make-ahead Cookies
You can make the dough ahead of time and freeze it to use for later. Cover it in plastic wrap and pop it in the freezer. Homemade cookie doughs can stay frozen for up to 3 months. Let it stand at room temperature for 4-6 hours before rolling them into balls.
Storing Thumbprint Cookies
To store, allow them to completely cool first. Then place them in airtight cookie jars or containers. They should be at their optimal state for up to a week if they last that long!
Possible Variations
I use the peanut butter cookie base to make different types of cookies! You can also try making Peanut Butter Blossom Cookies by swapping the jam with Hersey’s Kisses, sprinkles or making chocolate peanut butter blossoms . For Valentine’s day, try making my Chocolate Covered Cherry Peanut Butter Blossom Cookies- they are divine!
Pin for later:
Ingredients
- ▢ 1/2 cup butter softened
- ▢ 1/2 cup creamy peanut butter
- ▢ 1/2 cup sugar
- ▢ 1/2 cup brown sugar
- ▢ 1 egg
- ▢ 1/2 teaspoon vanilla
- ▢ 1 1/4 cups flour
- ▢ 1/2 teaspoon baking powder
- ▢ 1/2 teaspoon baking soda
- ▢ 1/2 teaspoon salt
To roll cookies/for top:
- ▢ 1/2 cup sugar
- ▢ 1/2 cup raspberry jam or other flavor of your choice
Instructions
- Preheat oven to 350 degrees F. Prepare 2 cookie sheets by spraying with nonstick spray or putting down silicone baking mats.
- In a large bowl cream together butter, peanut butter, sugar, brown sugar, egg and vanilla with a hand mixer until fluffy.
- Mix in flour, baking powder, baking soda and salt until a cookie dough forms.
- Place 1/2 cup of sugar in a small shallow bowl. Shape cookies into 1 inch balls, roll in sugar and place on prepared cookie sheets.
- Bake for 14 to 15 minutes until slightly browned.
- Once out of the oven, press thumb or small spoon into the center of each cookie to create a small well where the jam will go. Fill with a teaspoon of jam.
- Allow to cool for a few minutes to harden, and then serve (and eat them all!). Enjoy!

10 Minute Fresh Lemon Curd Made From Scratch
Ingredients
- 1/2 cup white sugar
- 1/2 cup butter softened
- 3 eggs
- 3/4 cup fresh lemon juice this is about 3-4 large lemons
- 1 tablespoon grated lemon zest
Instructions
- In a mixing bowl, cream the butter and sugar together until light and fluffy.
- Add the eggs one at a time, beating well after each addition until the mixture becomes very fluffy.
- Mix in the fresh lemon juice and lemon zest until fully combined.
- Pour the mixture into a medium sized saucepan and cook over medium heat, stirring constantly with a spatula or whisk. Continue stirring for about 6 minutes, or until the lemon curd thickens enough to coat the back of a spoon.
- Remove the saucepan from heat and immediately transfer the curd to a large bowl. Press a piece of plastic wrap directly onto the surface of the curd to prevent a skin from forming.
- The lemon curd will thicken more as it cools. If you’re planning to use it all at once, just place the covered bowl directly in the refrigerator. If you’ll be using it a little at a time, transfer it to a clean mason jar or airtight container. Store in the fridge for up to 1 month. Want to preserve it longer? Check out my post with full canning instructions.
Recipe Created by Pamela Reed for brooklynfarmgirl.com
